Natural Dyed Easter eggs with messages of love for the Easter table


Local Blue Mountains Artist Tania from Wild Botanik is about all things Eco + Art. A born creative, Tania has been experimenting with artistic expression since she was a child. After studying at art school in Sydney, Tania moved to Chicago IL where she began working in the fashion industry for designers and collaborators in textile and accessory design.
In 2015 she began experimenting with silk, wool and eco dyeing and slowly her knowledge of local plants and chemistry skills blossomed. Connecting with this artistic medium has brought the opportunity for Tania to create her own line of scarves, homewares and commissioned pieces for local stylists and private clients.
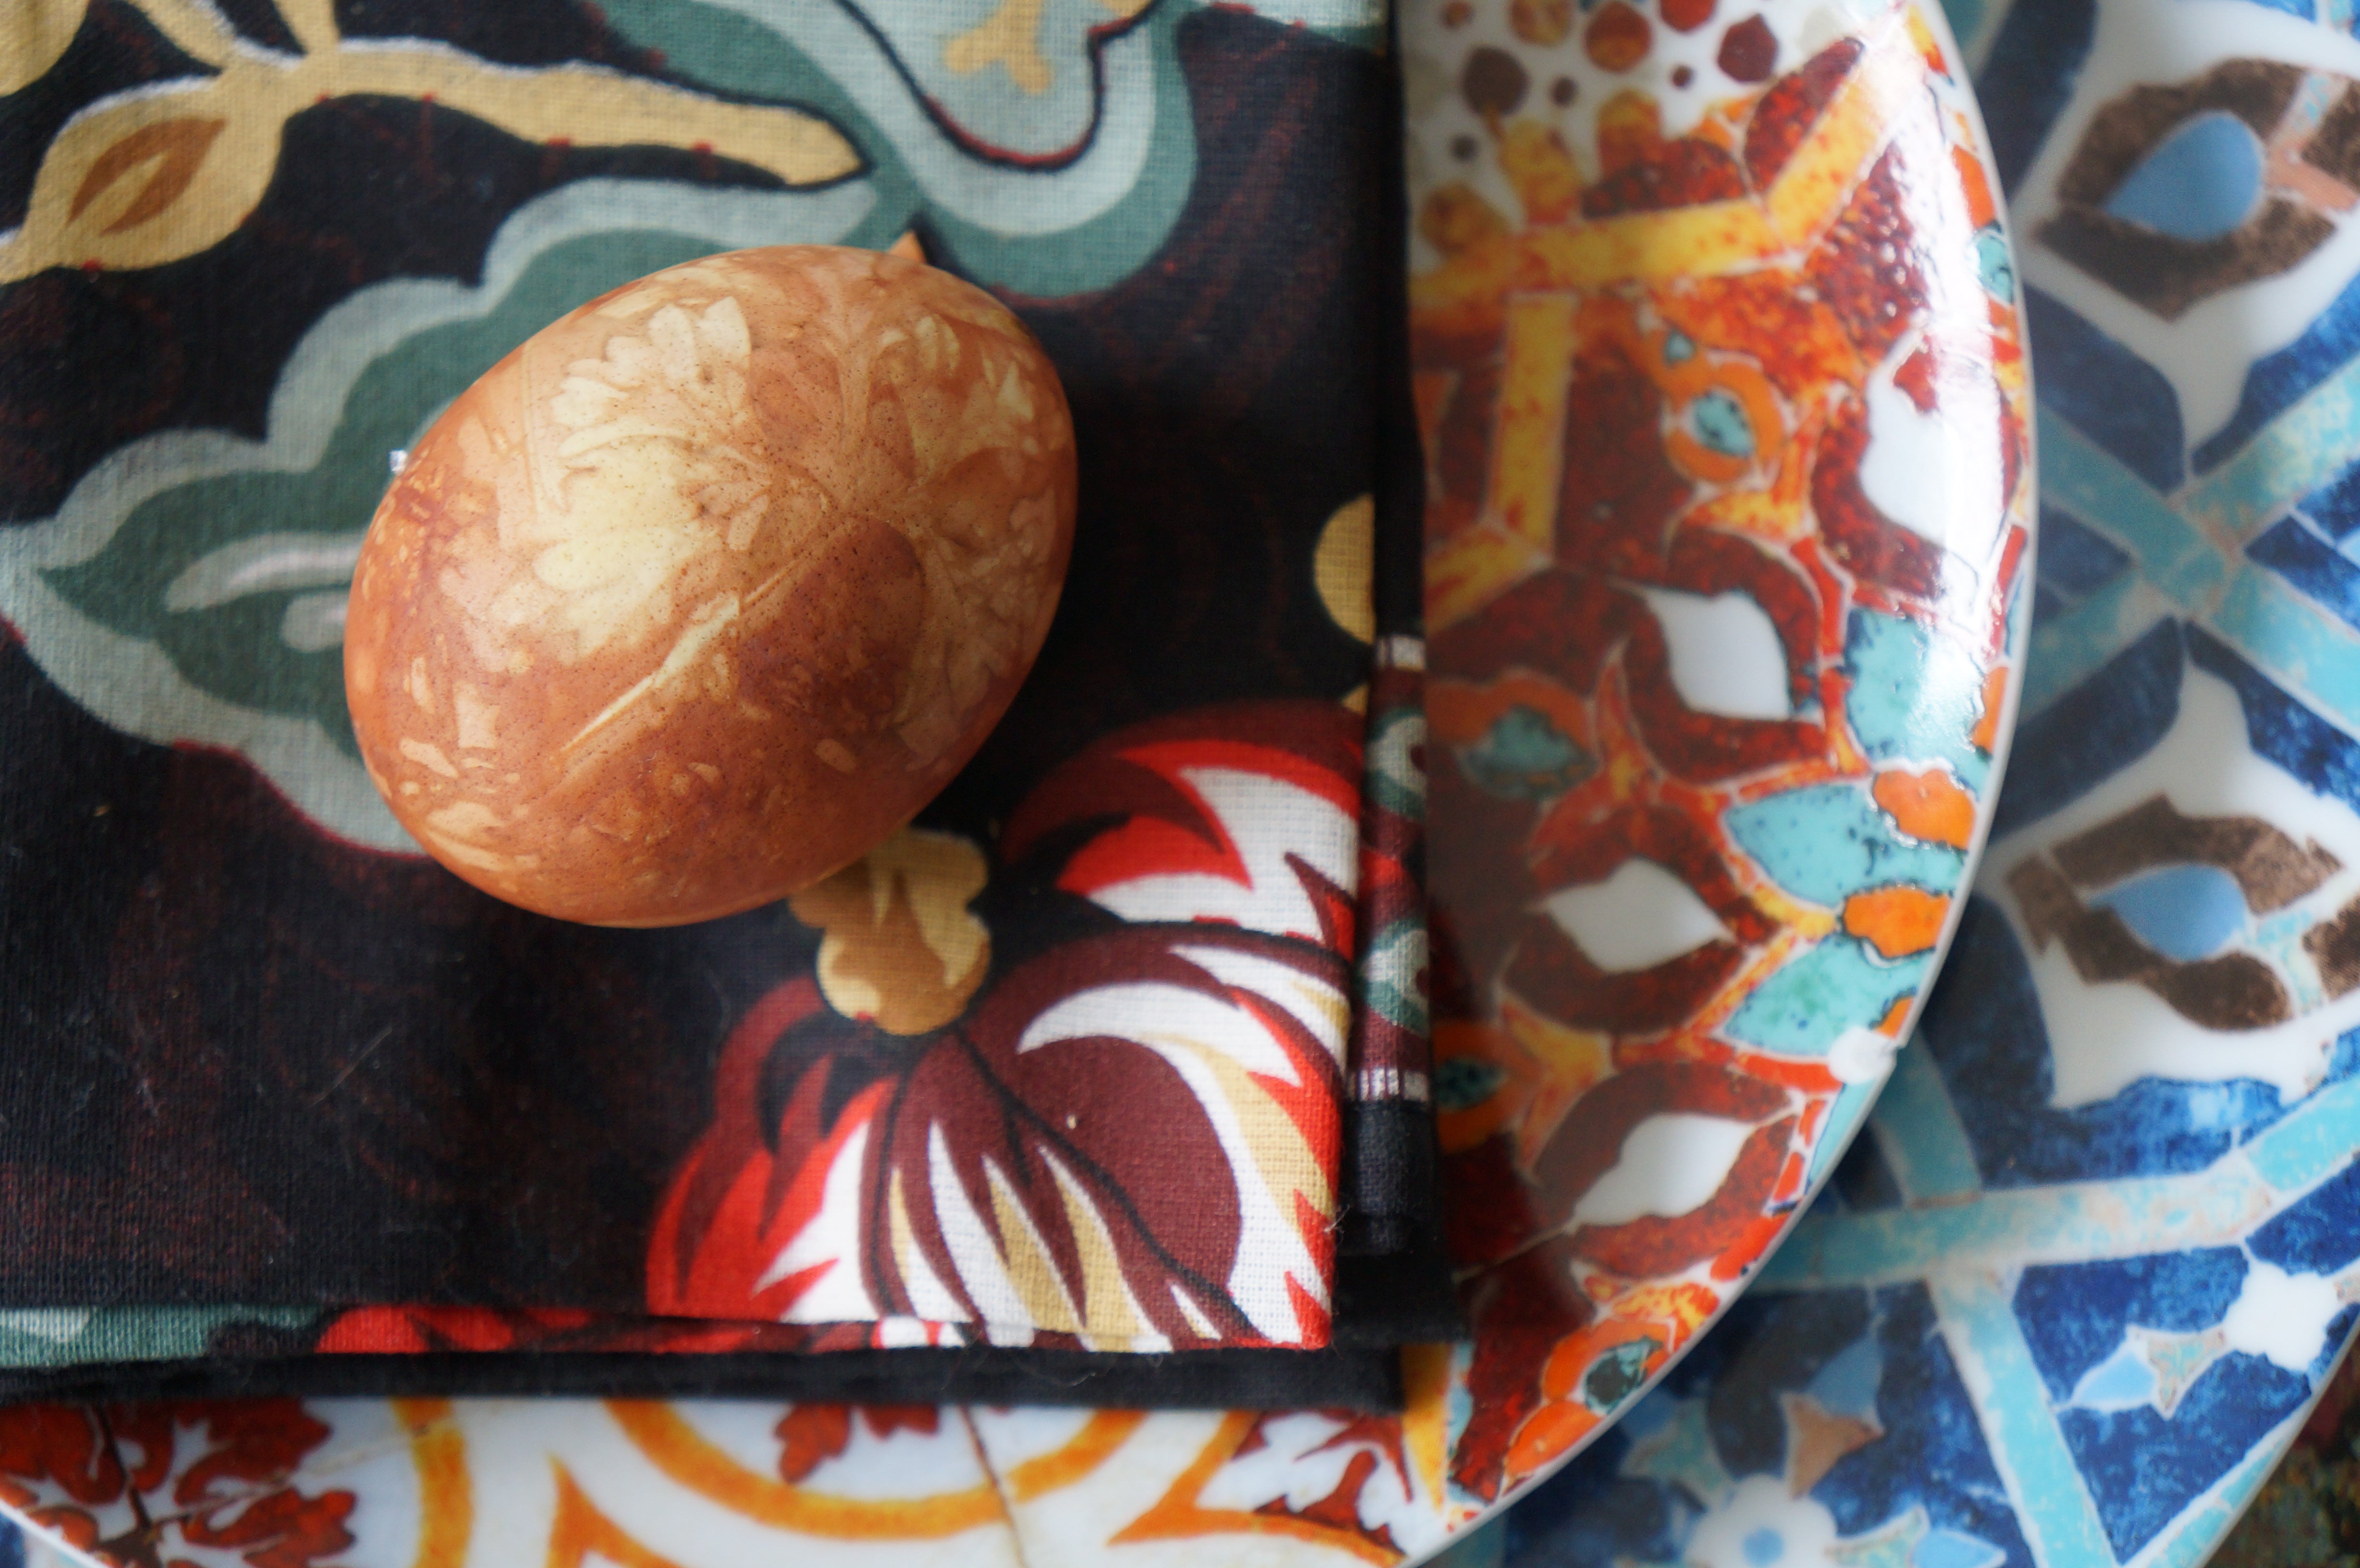
We came together with local organic artist Tania for this beautiful Eco dyed Easter egg project which you can do at home with the children and share to your easter table this year.

You will need:
Eggs, with the insides hollowed out
-hollowed eggs are when you make a hole at either end of the egg and blow the yolk out
- we recommending making more eggs than you require, to allow for breakage
Panty hose
Interesting leaves and flowers
Twine
Brown Onions - around 3-4 to dye a dozen eggs
Pot of boiling water + stove top
Thin paper
Skewer

Step 1. Gather your hollowed out eggs. Wrap a leaf around the egg and cover with the stockings, so they are pressing the leaf against the egg.
Step 2. Tie off the stocking with twine so it is nice and tight, holding your leaf in place.
Step 3. Chop your onions into 8 pieces. Place the eggs in boiling water with chopped onions. Boil for 30 mins.

Step 4. Whilst your eggs are boiling, write messages of love onto thin strips of paper (use the thinnest paper you can find).
Step 5. Cool your eggs and remove the stockings.
Step 6. Enlarge the hole at the base of the egg from where you hollowed them.

Step 7. Wrap your paper message around the skewer, so it forms a tiny little scroll. You may have to fiddle a little bit to make it as thin as possible, so that you can slide it into the hold at the base of the egg.
Step 8. Carefully insert your message into the egg. It is quite a delicate process, but with a little patience, you will get there.
Step 9. Enjoy! Style your eggs onto each place setting at your table. When it comes time to sit down, invite each guest to smash their egg open so they can read their messages of love.


Credits:
Natural dyed eggs: Wild Botanik
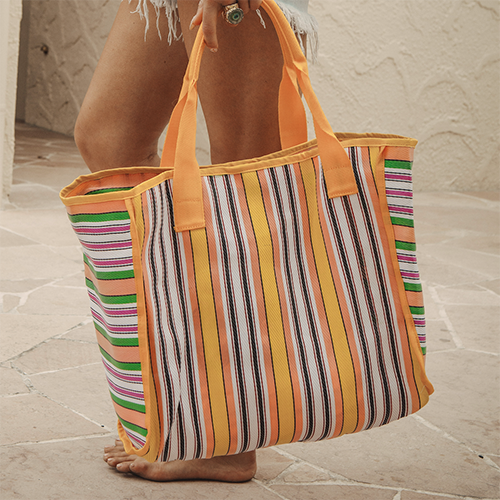
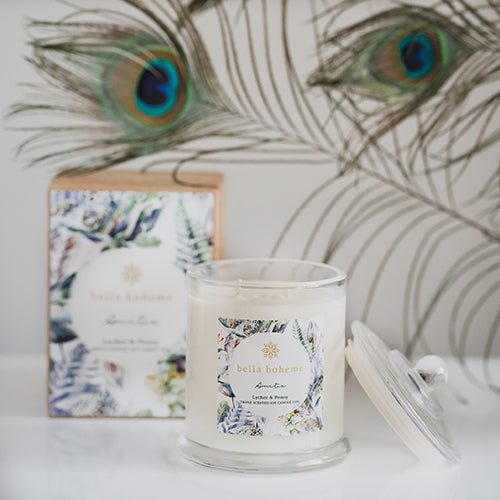
Tableware: Bella Boheme
Styling + Photography: Penny Lane Studio





Leave a comment