


The Art of Pressing Flowers
 We are thrilled to be stocking 'Pretty Press' which is by far, the most beautiful flower press we've laid eyes on. With school holidays in full swing and Mothers Day just around the corner,we thought it would be a perfect time to share this beautiful DIY, which is the perfect activity to share with all ages.
You will need:
Pretty Press flower press - buy online from us here
Foraged flowers
Floating Frame - we found ours at Target
Step One. Foraging for flowers
There's nothing quite like taking a walk with your little ones and foraging for flowers. We recommend choosing smaller flowers and stems of leaves on your journey, keeping the size of your floating frame in mind. Choosing a variety of colours and shapes is also a good idea.


Step 2. Pressing the flowers
Place the flowers between the sheets of white paper on the press. Pop the perspex cover on the top and fasten the screws to gently press the cardboard sheets. Allow a minimum of 5 days for the flowers to dry fully. You can check the progress of the drying as time passes, simply fastening the screws when you are done.


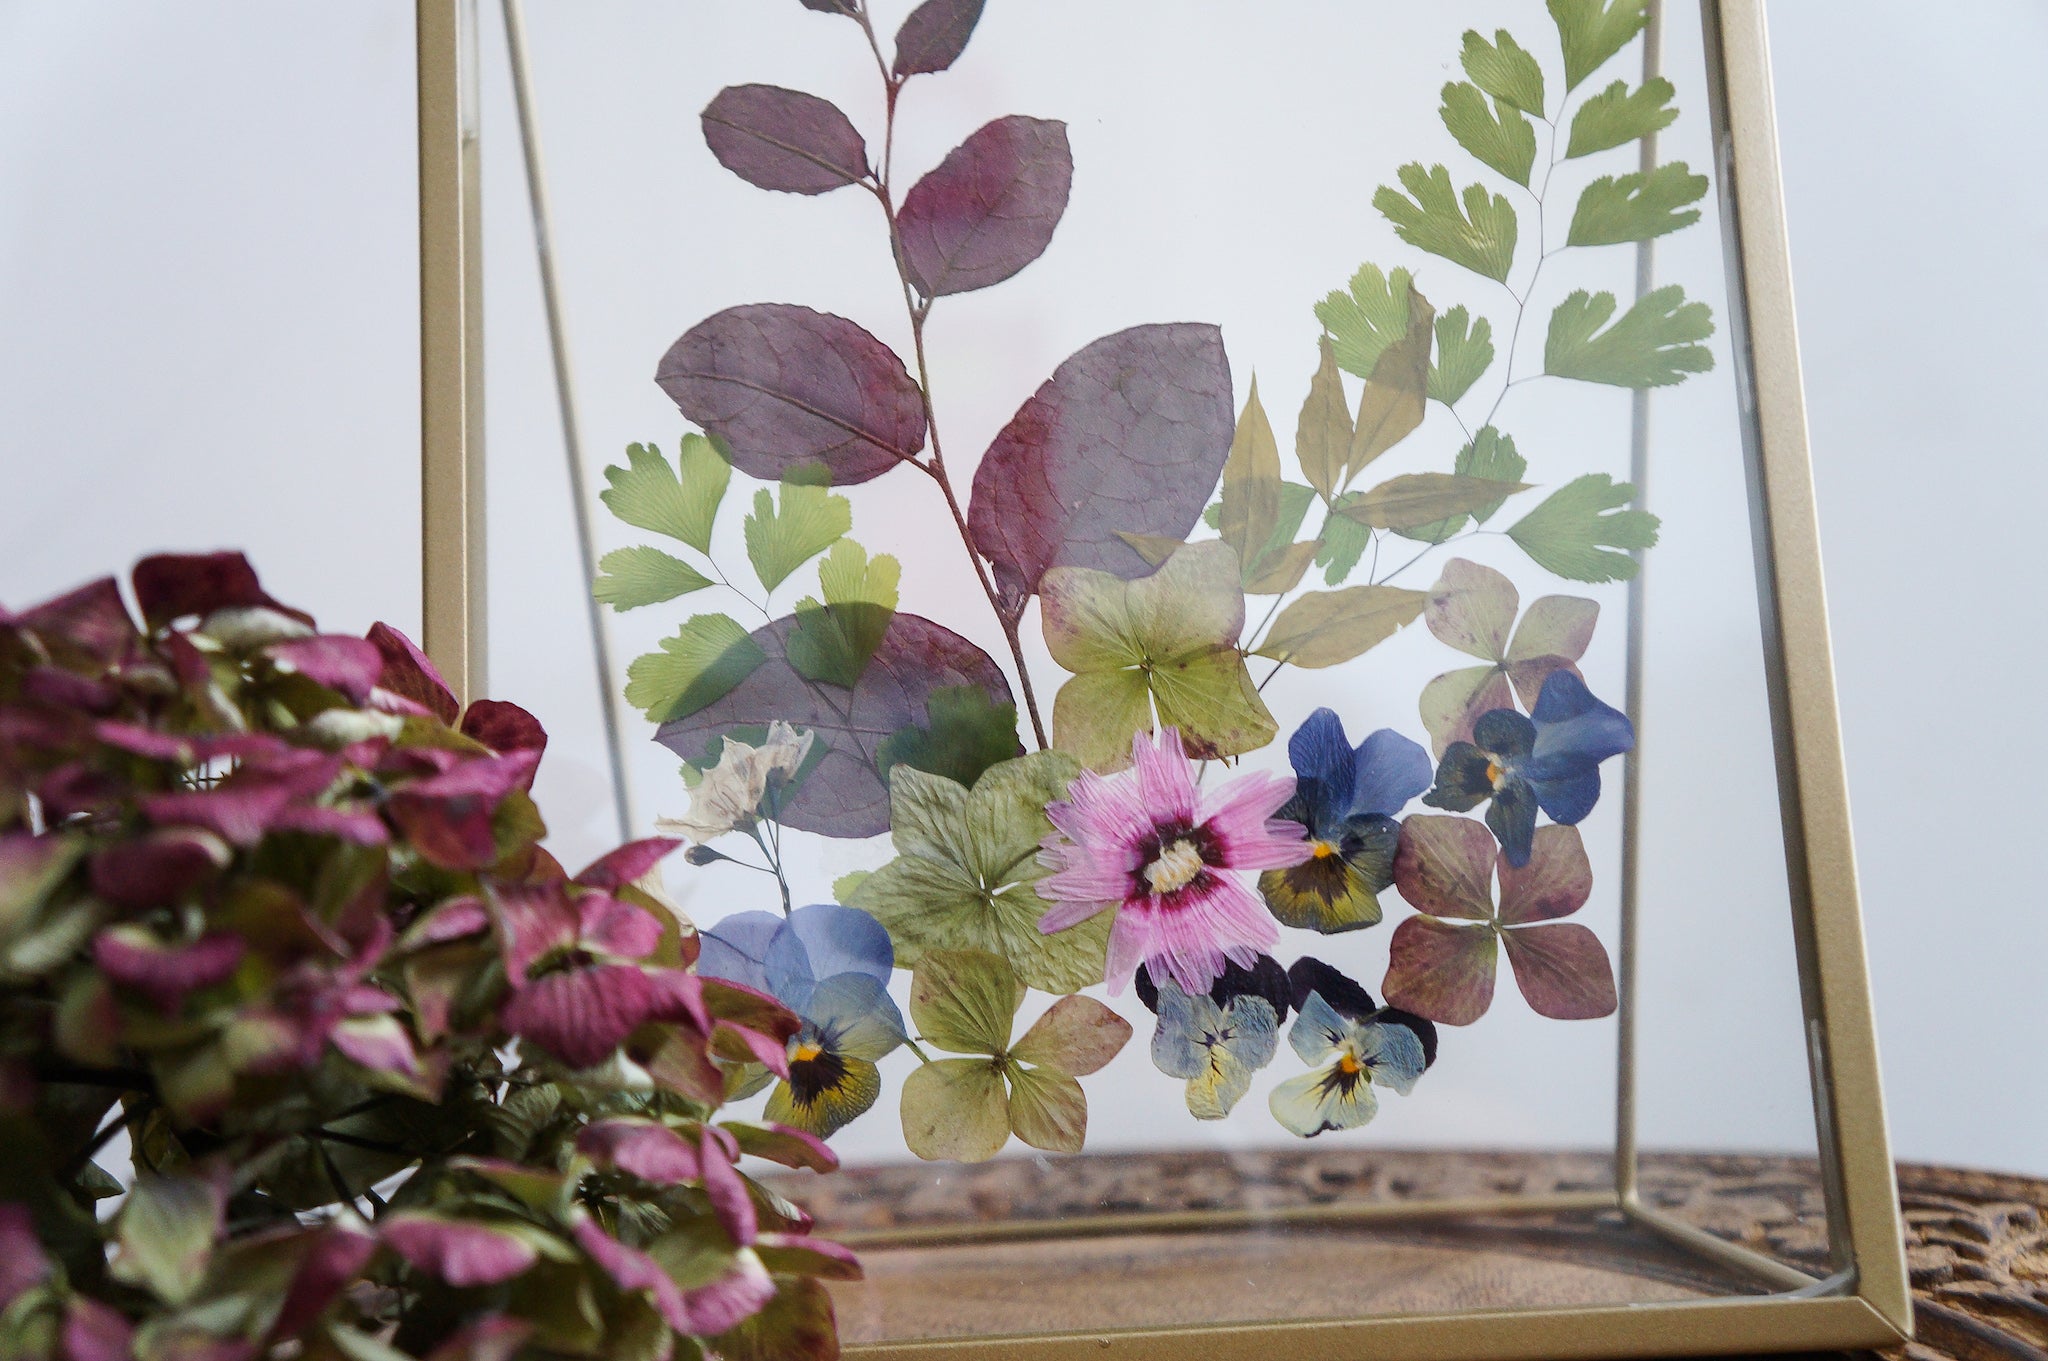
Step Three. Making your Artwork
Once your flowers are dried, Separate the two sheets of glass of your floating frame. Arrange the flowers and stems between the two sheets of glass. You may like to dab a tiny amount of craft glue on the back to hold them into place, however if you are careful, it is not completely necessary. Lay the second layer of glass over your arranged flowers. Slot the glass into the frame and your artwork is ready for display!


Credits:
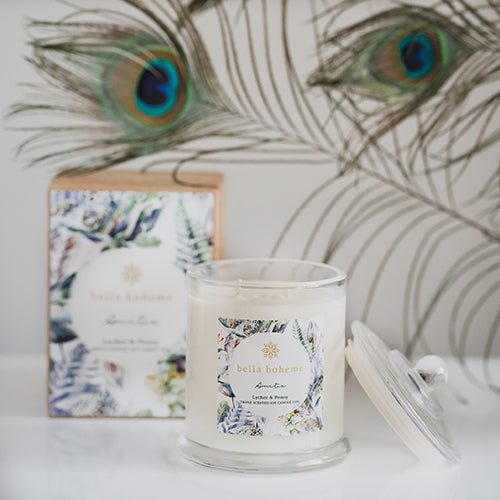
The Pretty Press flower press can be purchased online from Bella Boheme here
Styling + Photography: Penny Lane Studio
Leave a comment